


Your first AI agent doesn’t need code, a developer or a big budget. It needs a clear job, a few tools it’s allowed to use, and a careful test before you switch it on. This tutorial walks you through building one from scratch, using a small, safe project, and explains the costs honestly.
If you’re not sure what an agent is, read our guide to what agentic AI is first, then come back to build your first AI agent.
What Your First AI Agent Will Do
You’ll build a Notes Cleaner agent. You paste messy meeting notes into a Google Sheet row, and the agent writes a one-sentence summary, a short action list and an owner back into the same row.
It’s a good first AI agent for three reasons:
- It’s low risk. It only writes into your own sheet. It can’t email anyone or delete anything.
- It’s easy to check. You can compare the result with the notes in seconds.
- It’s cheap to run. Each run is short, so it uses few credits.
We use Make for this tutorial because its official guide for building agents was updated in October 2026. Zapier is moving its standalone Agents product into “AI by Zapier,” so its menus are changing. The steps below follow the same logic on any platform, as our roundup of AI agent platforms explains.
Before You Start
You need:
- A free Make account
- A Google account, and a Google Sheet with four columns: Notes, Summary, Actions and Owner
- A few rows of sample meeting notes to test with
What your first AI agent costs: Make’s Free plan gives you about 1,000 credits a month, and 2026 reviews list limits of two active scenarios and a 15-minute minimum schedule interval. According to Make’s documentation, all plans, including Free, can use Make’s built-in AI provider, and each agent run costs one credit per operation plus credits based on AI tokens. Make doesn’t publish a typical cost per run, so watch your credit meter during testing. A couple of third-party reviews describe the Free plan’s AI access as a short trial, so check what your own account shows. Paid plans start from about $9 a month billed annually, and they let you connect your own OpenAI or Claude key.
The Five Parts of Your First AI Agent
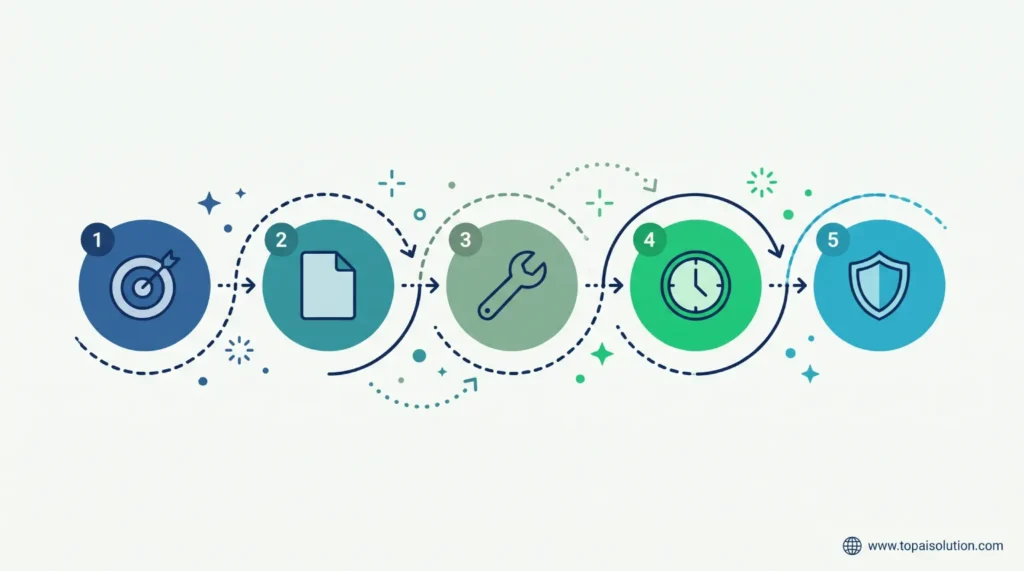
Whatever platform you use, a first AI agent has the same five parts:
- A goal: what the agent is for
- Instructions: the rules it follows
- Tools: the actions it’s allowed to take
- A trigger: what starts it
- Limits and testing: what it must never do, and how you check it
The steps below build each one.
Step 1: Plan Your First AI Agent
Write three lines before you open any tool:
- Goal: turn messy meeting notes into a summary, actions and an owner
- Tool: one Google Sheets action that updates a row
- Trigger: a new or changed row in the sheet
Planning first keeps your first AI agent small. Most failed agents try to do too much.
Step 2: Create the Scenario for Your First AI Agent
In Make, your agent lives inside a scenario.
- Sign in to Make and click Create scenario.
- Click the big plus, search for Google Sheets and choose a trigger such as Watch Changes.
- Connect your Google account, then select your spreadsheet and sheet.
- Click the clock icon on the module and set how often the scenario runs. On the Free plan, the shortest interval is 15 minutes.
- Click Save.
Step 3: Add Your First AI Agent to the Scenario
- Click the plus icon on the right of your trigger module.
- Search for Make AI Agent (New) and select it.
- Choose Run an agent.
Step 4: Configure Your First AI Agent
Open the Run an agent module and set it up.
- Connection: on the Free plan, choose Make’s AI Provider. On a paid plan you can use it or your own OpenAI or Claude connection.
- Model: pick a model. Smaller models cost fewer credits, and this task doesn’t need a large one.
- Instructions: paste the template below.
- Input: map the Notes value from your trigger module, so the agent receives the text of the new row.
- Step timeout: you can leave the default of 300 seconds.
Instruction Template You Can Copy
Role: You are a meeting-notes assistant.

Task: When given raw meeting notes, write a clean summary and an action list.

Output rules:
- Summary: one sentence, under 30 words.
- Actions: up to 5 bullet points, each starting with a verb.
- Owner: a name from the notes, or "Unassigned" if none is stated.

Constraints:
- Use only information in the notes. Do not invent names, dates or tasks.
- If the notes are too short or unclear, write "Needs review" as the summary.
- Never change or delete the original notes.

When you finish, use the Google Sheets tool to update the same row with the Summary, Actions and Owner.
This pattern works for most agents: a role, a task, output rules and hard limits. Our guide on how to write better ChatGPT prompts explains why clear rules produce better results.
Step 5: Give Your First AI Agent One Tool
An agent can only act through its tools, so give it just the one it needs.
- Hover over the plus icon of the Run an agent module and click Add tool.
- Search for Google Sheets and choose a module that updates a row, such as Update a Row.
- Select the same spreadsheet and sheet, and map the row number from your trigger so the agent updates the right row.
- For the Summary, Actions and Owner columns, choose the option that lets the AI agent decide the values, if Make offers it.
- Save the module.
Keep your first AI agent to one tool. Every extra tool adds ways for it to go wrong and costs more credits.
Step 6: Test Your First AI Agent Before You Turn It On
Make gives you several ways to test. Use all of them.
- Chat with the agent. Right-click Run an agent and choose Chat with Agent, then paste sample notes. The agent calls its tool, and you can see whether it behaves.
- Run with real data. Click the arrow next to Run once, pick a previous run as test data, then click Run once.
- Check the reasoning. Click the back arrow, open History, open the run’s Details and look at the Reasoning tab to see why it made each choice.
- Try edge cases. Use very short notes, notes with no names, and notes in a messy order.
If the result is wrong, change the instructions and test again. Most problems are unclear instructions, not bad AI.

Step 7: Turn On Your First AI Agent and Keep It Safe
- Click Save on the scenario toolbar, then switch the schedule on.
- Add one real row and check that the result appears in your sheet.
- Watch your credit use for a few days.
- Review results regularly, since agents can still make mistakes.
Keep these safety rules for every agent you build: give it only the tools it needs, avoid tools that send, delete or spend until you trust it, and require your approval for anything you can’t undo.
Common Mistakes With a First AI Agent
- Vague instructions. “Clean up my notes” leaves the agent guessing.
- Too many tools. Start with one.
- Skipping the test. Always run edge cases before you turn it on.
- Risky permissions. A first agent shouldn’t be able to email clients or delete files.
- Ignoring credits. Check usage after your first few runs.
Where to Go Next
Once your first AI agent works, try a second small project, such as sorting form submissions or drafting replies you review before sending. To compare other tools, read our roundup of the best AI agent platforms for beginners, and if you’re deciding whether you need an agent at all, see AI agents vs chatbots.
Frequently Asked Questions
You can build and test one for free. Make’s Free plan includes about 1,000 credits a month, but each agent run uses credits for the operation and for AI tokens. Heavier use, or connecting your own AI key, needs a paid plan.
No. Make uses a visual builder, and you write the agent’s instructions in plain English.
A normal automation follows fixed steps. An agent reads the situation and decides which tools to use, which is why it needs clear rules and testing.
It can be, if you limit what it can do. Start with tools that only read or write to your own files, and avoid sending, deleting or spending permissions until you’ve tested it carefully.
Pick a small, repeatable task with low risk, such as summarizing notes, sorting messages or filling in a spreadsheet. Avoid anything that affects customers or money.